Showing posts with label baking. Show all posts

Saturday, December 8, 2012

Peanut Butter Dog Treats

I've been meaning to put this recipe on here for forever. These pictures are actually from a few months ago, life has been a little hectic.

Anyway, this is the recipe that I've been using for the last year or so to make the treats that I bring with me to adoption events. I love this recipe because there are only four ingredients in it and they don't seem to bother the dog's stomach as much as some other treats.  I've also doubled the recipe from the site that I originally used because it didn't make nearly enough for my taste. Okay, enough with the rambling, here's the recipe:

First thing you want to do is mix together the dry ingredients, i.e. the flour and baking powder.


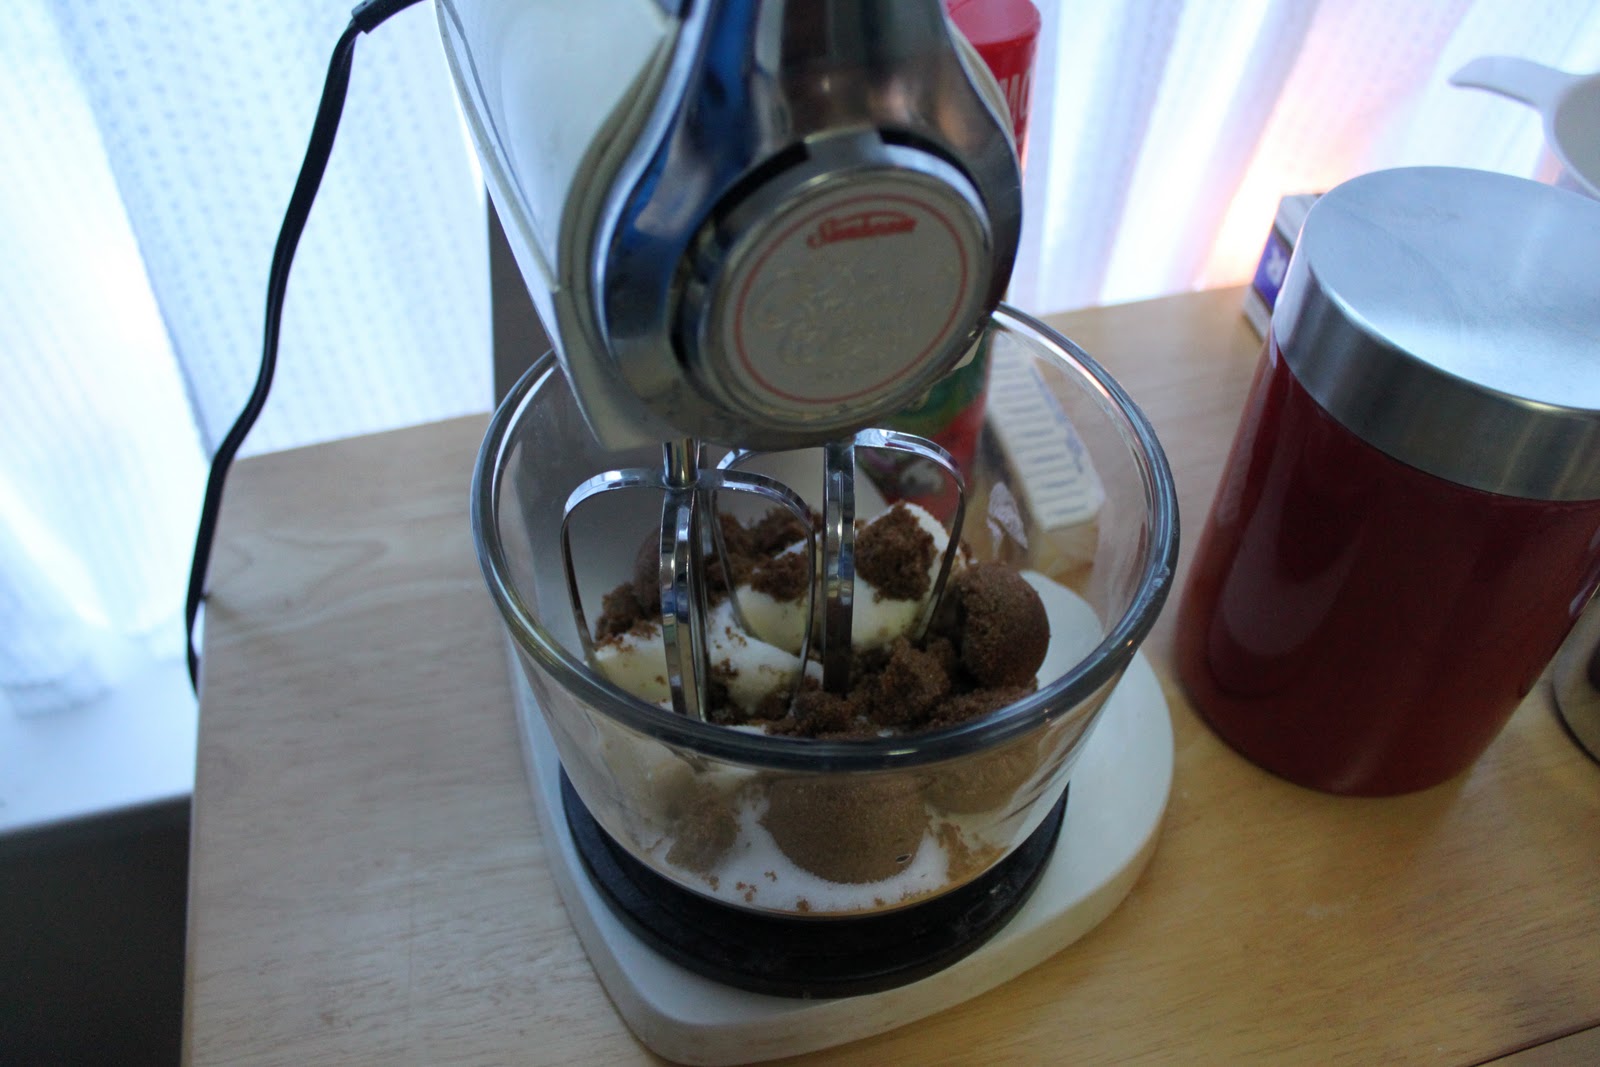
Next, mix together the peanut butter and hot water. You don't really need to use a mixer for this, but it's way easier and you don't have to worry about spilling hot water everywhere... or is that just me that does dumb things like that?


The kitchen usually starts to smell like a peanut butter dream at this point. Just a heads up, family members and roommates will follow this smell and expect there to be peanut butter cookies for them to eat. They will be disappointed.

Break out whatever cookie cutters you'll be using. It was still fall when I made these so I used my leaf, pumpkin, and heart cookie cutters. In retrospect, I probably should have only used the pumpkin for pumpkin flavored treats. People were very confused.


Make sure you put flour down and roll the dough thinner than you would think you should. It will rise a little bit and if it's too thick, they won't dry out as well as you want to get that nice crunch that dogs like. Also, the drier you get them, the longer you can store them without having to worry about them going bad.


If you want to make smaller treats, or use the treats for training, you probably don't want to use big cookie cutters. What I usually do (which I'll try to get a picture of eventually) is roll the dough out and then use a pizza cutter to cut thin vertical lines in the dough and then make horizontal cuts so you get little squares. I like that method because you can make them any size you want. I like to make tiny ones so you don't have to worry about breaking them up when you are training. I make them just a little larger than the size of kibble. Just make sure you keep an eye on them while they're in the oven, they go from perfect to super crispy in no time.


Once they're light brown and firm to the touch, take them out, let them cool for a bit on the pan and then transfer them to a cooling rack. This lets them dry out even further. Make sure you cool them completely before you put them in any kind of container or the steam they give off will make them mushy.

Good luck making them!


Recipe:
2 cups flour
1 tablespoon baking powder
1 cup peanut butter
1 cup hot water

1. Preheat oven to 375.
2. Mix together the flour and baking powder.
3. In a separate bowl, mix together the peanut butter and hot water until smooth.
4. Gradually add in the dry mixture. If too wet, add a little more flour.
5. Turn dough out onto a flat, pre-floured surface.  Roll until a little less than 1/4 inch thick. Roll thicker if you want flakier, biscuit-like treats. Roll thinner if you want easier to break up treats to be used for training.
6. Cut into your desired shape and size treat then transfer to a cookie sheet.
7. Bake for 20 minutes or until lightly brown and firm to the touch. Let cool completely and store in an air tight container.

Original recipe from: elephantineblog.com

Thursday, April 26, 2012

Peanut Butter Bread

I admit it, I have a problem. Everyone I know is aware of it, some of them disagree strongly with it. It's an addiction that can't be stopped.
My name's Isabel and I'm addicted to peanut butter.
Peanut butter, peanuts, peanut butter flavored things, Reese's, all of it.
And I don't care.

So when I found a recipe for peanut butter bread you bet your butt I was scribbling it down and running to the kitchen immediately.  I think I had it in the oven less than half an hour after stumbling upon the recipe.
I don't even care that I told my dad I wouldn't make anymore recipes that I found online. It's peanut butter bread! He will understand.

Other than my peanut butter addiction, there's another thing you might not know about me.
This girl bakes in a cardigan.
A black one at that.
I dare flour to try to touch me:


I do wear my personally altered apron though. Aprons never ever fit me right. The neck strap is always huge and the strings are always way to long, and with cats in the kitchen , that's not an option.  So I went to my trusty sewing machine ages ago and shortened the neck strap and added some ribbon accents.  This is my clean apron, I have another one with brown ribbon with polka dots that's my chocolate apron and pretty much never gets washed.

Anyway, back to this magical recipe.
It was super simple, I'm really glad that I had everything I needed in the apartment or there would have been an emergency Wegmans run.  This recipe is basically a peanut butter cookie recipe by the looks of it, just way wetter, which is alright by me.  

According to the recipe, before you add the milk, the batter will be super dry. It was, but don't worry, it improved with the addition of the milk.  Before the milk it sort of looked like my dough for dog biscuits looks like, that's how dry it was:


Once I added the milk it pretty much instantly became more liquid. It was actually squelching in the mixer, which was kind of gross but it smelled like peanut butter so who cares.  The most promising part of making this recipe was that the dough/ batter looked and smelled almost exactly like peanut butter. I guess that's what happens when almost a third of the mix is made up of peanut butter.


The recipe also had a tip to use wax paper in the pan to help get the bread out easier when its done. I've never done this before but I figured why not, might as well try it right? Well, I was a little obsessive compulsive about my folds but this is what I came up with:


The batter was surprisingly thick when I went to pour it in. It may have looked liquid, but it was way less viscous than I was expecting, which was a pleasant surprise.  Overly liquid doughs always make me paranoid that I've done something wrong.


I got it in the pan, smoothed it out, and popped it in the oven: 


I waited impatiently for it to be done.  I may or may not have snacked on straight peanut butter while I was waiting:


When it finally came out....


Yep, that's burnt on the sides. Damn you college oven.  I would have taken it out earlier but the center was no where near ready.


Not. Pleased.
Although I will say that the parchment paper was a godsend. I will definitely be doing this from now on.
Now, me being me, I didn't let this burnt crap bother me.
I just grabbed my bread knife (thanks dad!) once it had cooled and cut/ scraped off the burnt edges.  The rest of the bread was fine. And my apartment smelled amazing.


Problem solved!


Ingredients:
2 cups flour
1tsp baking powder
1/4 tsp salt
1/4 cup butter
1/2 cup sugar
1/4 cup brown sugar
1 cup creamy peanut butter
1 egg
1 tsp vanilla
1 cup milk

Preheat oven to 350.
Combine the flour, baking powder, and salt in a bowl and set aside.
In a mixer, cream together the butter and both sugars.
Add the peanut butter, egg, and vanilla and mix well.
Slowly add in the flour mixture.
Slowly pour in the milk and mix well. Be sure to scrape the bottom and sides of the bowl as the thicker, drier dough will stick and not be incorporated if you don't.
Pour the batter into your prepared pan.
Bake for 50-60 minutes or until a toothpick poked into the center of the bread comes out clean.

Monday, April 23, 2012

Krusteaz One Step Blueberry Muffins

A couple of weeks ago my dad sent me an absolutely fantastic care package.


One of the things that I was excited to try was the One Step Blueberry Muffins from Krusteaz.


I made their crumb cake box mix all the time so I was interested to see what one of their other products was like.  Although I did feel like I was completely cheating by making something so oversimplified with only water as an added ingredient.  I went ahead and tried it anyway.

Here's what the mix itself looks like:


The only thing you had to do to prepare it for pouring into the pans was to add water and shake it.  
So I shook and shook and shook:


One thing I will note about it is that there should probably be some sort of warning that shaking it too hard or too long creates pressure in the bottle.  It surprised the crap out of me when I opened it to pour it.

It looked pretty much how I expected it to when I opened it. Although I was a little surprised at how cylindrical the "blueberries" were. I'll never get used to the look or taste of fake blueberries:


The mix was supposed to make six muffins but apparently the muffin pan I have is ridiculously oversized because I barely got four out of them. Oh well, into the oven they went:


They didn't end up rising all that much, or getting much of a muffin-y top. But even though they looked more like biscuits, they tasted like muffins:


So overall, they weren't the best muffins I've ever made or eaten, but they were certainly the easiest by far. 

Thursday, February 2, 2012

Snickerdoodles

Snickerdoodles are my default cookie.  Don't know what to make for a party or get together? Make snickerdoodles.  Everyone seems to love them. Every type of cookie seems to have people that don't like them, except for snickerdoodles.  Chocolate chip: don't like chocolate. Oatmeal raisin: don't like raisins. Sugar cookies: too boring/ hard/ sweet. Snickerdoodles: perfect.  The only problem I've ever encountered with snickerdoodles is having someone not recognize the name. They're essentially just sugar cookies rolled in a mixture of cinnamon sugar:


I always make mine kind of small, so instead of getting 4 dozen out of them, I usually get five or six dozen by the time I'm done.  The dough chills and freezes fine though, so you could always make half and save the other half, just don't roll them in the cinnamon sugar first.

Feel free to play around with the cinnamon sugar mixture, I never measure, just put more cinnamon in until it "looks right."  I do recommend using a silicone mat like I used or double panning these though if your oven can be unpredictable, cause there's nothing more disappointing than a burnt batch of Snickerdoodles!


Recipe from: Baking Bites

Ingredients:

2 3/4 cups all purpose flour
2 tsp cream of tartar
1 tsp baking soda
1/4 tsp salt
1/2 cup butter, soft
1/2 cup shortening (nonhydrogenated), soft
1 1/2 cups sugar
2 eggs
2 tsp vanilla extract
2 tbsp sugar
2 tsp cinnamon

Preheat oven to 400F. Line a baking sheet with parchment paper.
In a medium bowl, whisk together flour, cream of tartar, baking soda and salt. Set aside.
In a large bowl, cream together butter and shortening, gradually adding the sugar until mixture is fluffy. Beat in eggs, one at a time, followed by vanilla extract. Gradually mix in the flour at low speed until a dough is formed.
In a small bowl, combine sugar and cinnamon. Roll 1-inch balls of dough in the mixture and place on baking sheet. Cookies will spread, so leave about 2-inches between cookies.
Bake for 8-10 minutes, until set.
Remove to a wire cooling rack immediately.
Store in an airtight container when cool.
Makes about 4-dozen.

Sunday, January 29, 2012

Madeleines With Dad

My first recipe to be posted on here featuring my dad!  He's basically one of the biggest reasons that I got into baking in the first place, and food in general.  


Anyway, my big gift for him from Paris was a french pastry book for us to translate and use together.  For whatever reason, we didn't use it to make these madeleines, but we used a recipe from Julia Child instead.  It was a great recipe though, and turned out pretty much as we expected, not as big and rounded as the ones I had in France, but I'm beginning to think that's a different recipe because when I googled Madeleine recipes I got a few different kinds.

The first thing you have to do is melt and clarify the butter.  I'm going to emphasize this because I didn't realize what the recipe meant by this when I made it so I almost messed up big time.  Basically you just need to melt the butter and allow it to cool in some sort of container that you can use to pout off the top (yellow) layer to use in your madeleines.  The bottom will be white solids that you don't want to use:


My dad whipped the eggs and sugar  by hand.  Our recipe was a little bit different, it also had us temper the eggs and sugar before beating it.


Add in the dry ingredients:


Then add the butter, which should look like this if clarified:


Add in and mix thoroughly:


Pour into your prepared pan and bake!


And just for fun, a picture of my gigantic bottle of vanilla, and the spiced rum that we put in ours:


Recipe from Smitten Kitchen

Ingredients:
3/4 cup (105 grams) all-purpose flour
1/2 teaspoon double-acting baking soda
2 large eggs, at room temperature
1/2 cup (100 grams) sugar
Grated zest of 1 lemon
2 teaspoons pure vanilla extract
5 tablespoons (2 1/2 ounces; 70 grams) unsalted butter, melted and cooled

Sift together the flour and baking powder and keep close at hand. 

Working in a mixer fit with the whisk attachment, beat the eggs and sugar together on medium-high speed until they thicken and lighten in color, 2 to 4 minutes. Beat in the lemon zest and vanilla. 

Switch to a large rubber spatula and gently fold in the dry ingredients, followed by the melted butter. 

Cover the batter with plastic wrap, pressing the wrap against the surface to create an airtight seal, and chill for at least 3 hours, perhaps longer–chilling helps the batter develop its characteristic crown, known as the hump or the bump. (The batter can be kept tightly covered in the refrigerator for up to 2 days.)

Center a rack in the oven and preheat the oven to 400 degrees F (200 degrees C).

 If your Madeleine pan is not nonstick, generously butter it, dust the insides with flour and tap out the excess. If the pan is nonstick, you still might want to give it an insurance coating of butter and flour.

Divide the batter among the molds, filling them almost to the top. Don’t worry about smoothing the batter, it will even out as it bakes.

Bake large madeleines for 11 to 13 minutes, small ones for 8 to 10 minutes, or until the cookies are puffed and golden and spring back when touched. 

Pull the pan from the oven and remove the cookies by either rapping the pan against the counter (the madeleines should drop out) or gently running a butte knife around the edges of the cookies. Allow the madeleines to cool on a cooling rack. They can be served ever so slightly warm or at room temperature.

Friday, January 27, 2012

Pits and Pastries Goes to Paris!

Over winter break I got to go to Paris, one of the most amazing experiences of my life.  I went with a two of my aunts, a cousin and my grandmother and we had an absolute blast.  Granted, when we arrived, I was a bit thrown off by the guards in the airport with Uzi machine guns but once we left the airport I was too busy looking at everything around me to keep worrying about the guards.  We went to the apartment that we were staying at and had to suffer through an unnecessarily long tour by the woman who was renting it out for the owner.  She was an absolute treat, she drove us all mad.  We wanted to smack her by the end of it.

While half of us passed out from the jet lag (a 6 hour time difference), my aunt, cousin, and I went across the street to the bakery to see what we could find.  The bakery was amazing.  It was just a little corner shop but it had chocolates, and pastries and best of all; baguettes.  Everything had a gorgeous glow about it that showed just how fresh it was.

One of the first things I noticed was something labeled galette des rois, or "king cake."  The only kind of galette I've ever made was a strawberry galette which looked completely different (and was a complete failure). Here's a picture of the galette des rois display:


We had no idea what was so special about them about them but we saw them everywhere.  On our last day there my cousin found out the hard way that a galette des rois is a special treat made for the Epiphany and it has a special "trinket" (choking hazard) in it.  The person who gets the trinket in their piece has "various privileges and obligations."

Here's a recipe if you'd like to try it yourself.

We also saw a bunch of pastry and candy shops.  The macaroon displays were particularly stunning.  Here's one of the most stunning that we saw:

Unfortunately we didn't get to go into this shop, but I did get macaroons elsewhere, and they were delicious! 

One of the days we went up to the top of a huge hill to visit an enormous church.  You could see the whole of Paris from the top.  We watched a bunch of guys practicing capoeira for tourists.  After walking around for while, dodging sketch artists and other peddlers, we had a light snack in a restaurant overlooking a square where artists were painting.  I had my first crepe!

It was fantastic.  The crepe was wonderfully light and the chocolate sauce was to die for.  I don't think that there was a single smear left on my plate by the time I was done with it.  I also had a cute tea in an adorable wrapper:

And not surprisingly, there were pitties in France! I was delighted by how many we saw.  Here's a handsome boy patiently waiting for his owner to come out of a grocery store:

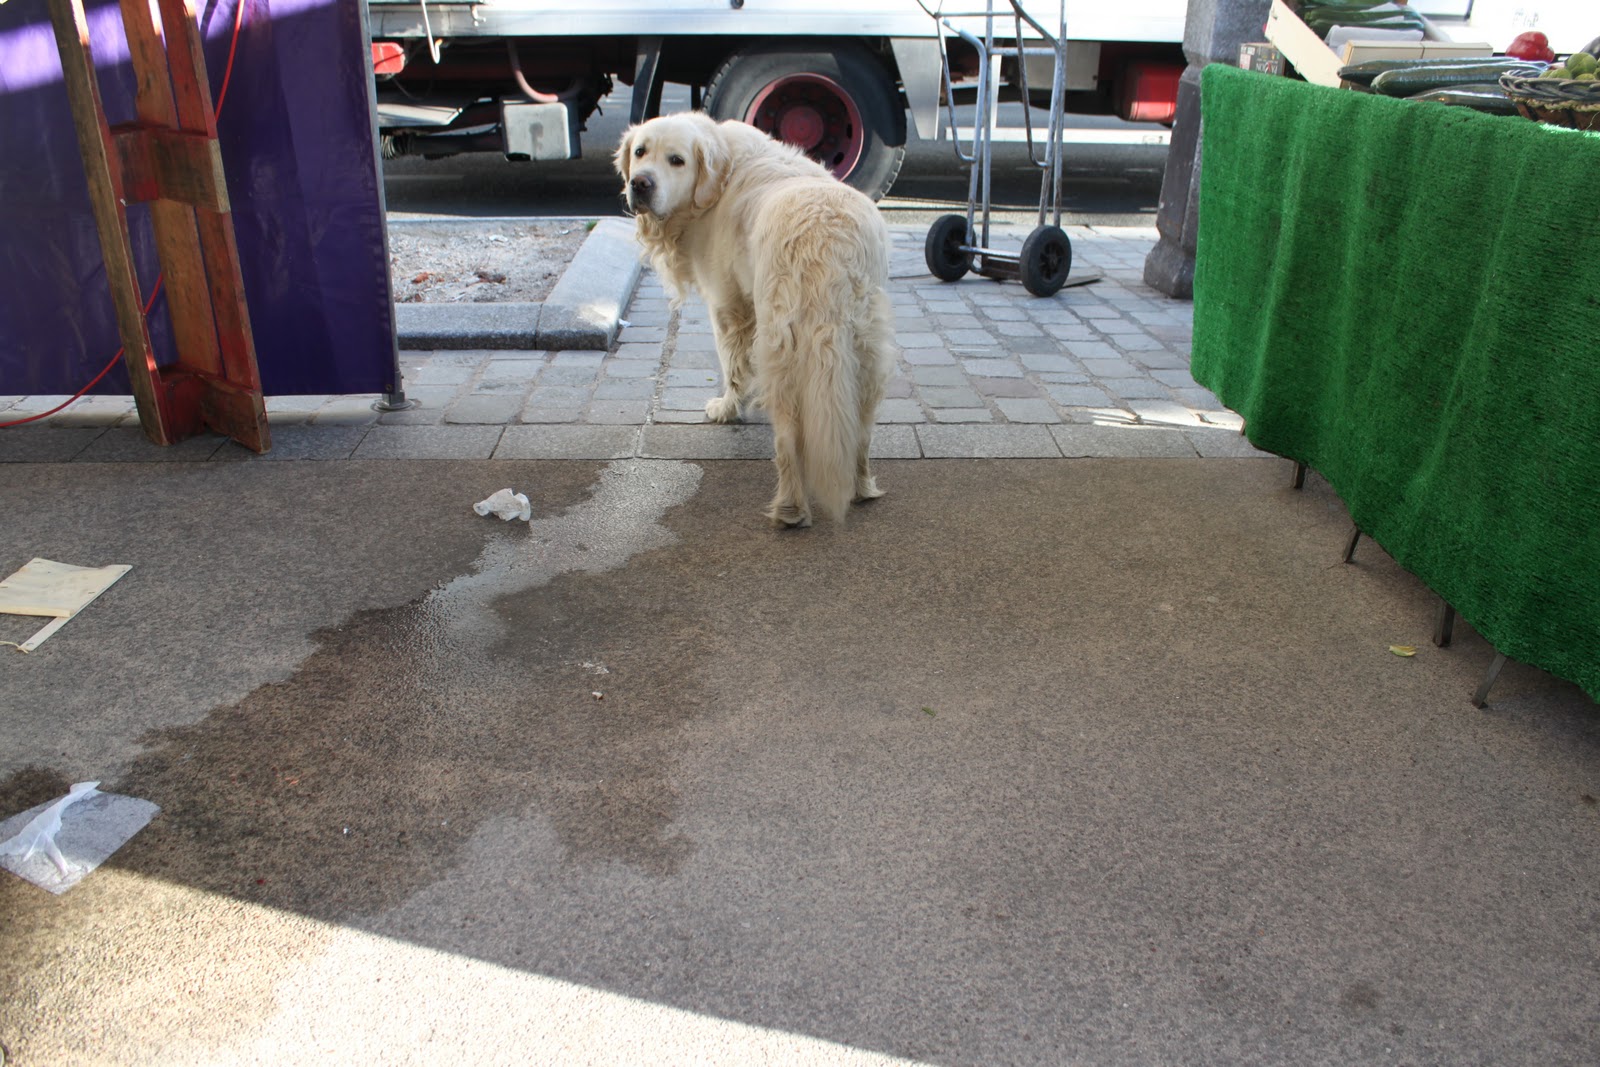
It was amazing to see how well behaved the dogs in France were.  We saw them leashless almost everywhere, obediently following their owners around the city, even in the market place:

More soon!

Thursday, January 26, 2012

Candy Cane Sugar


This is a fantastic and super easy idea for the holidays.  I made enough for several gifts with a double batch.  It looks really pretty in a pint sized mason jar or an old school spice bottle like these:


Mason Jar and Spice bottle photo credit

Another great idea is to give them a tin of coco mix or a mason jar hot chocolate kit with the peppermint sugar.  There's nothing better than peppermint flavored hot chocolate or coffee during the cold winter months.

Helpful hint: Run to Walmart and Target right after the holidays (like right this minute) and pick up a ton candy canes on super sale (I saw packages at Walmart for 10 cents).  Target also has amazing after Christmas sales, especially on wrapping paper, so stock up, especially if you're a poor college student!


Ingredients:
1 cup white sugar
2-3 candy canes

Pour the sugar in a food processor or blender.
Add the candy canes and blend until you are happy with the consistency.
Doesn't get any easier!

Recipe and photos from: Pip and Ebby

Tuesday, January 24, 2012

Chocolate Chip Oreo Cookies


One could not ask for an easier or more delicious recipe. Just like a chocolate chip cookie, but AMAZING.  Well I suppose anything would be with a bunch of oreos chucked in.  This recipe is courtesy of Picky Palate (link at the bottom of the recipe) as is the last picture in this post because I forgot to take a final picture.  Seriously, try this recipe out, it's not as overly sweet as it sounds.  Even I like them.

Cream together butter and the sugars.

Add in the egg and vanilla and mix well.

Add in flour and dry ingredients then mix in the oreos and chocolate chips by hand.

Bake for 7-9 minutes. Try not to eat them straight off the pan, they'll be hot haha.

Ingredients:
1 stick softened butter

6 tablespoons (about 1/3 cup) sugar
6 tablespoons (about 1/3 cup) brown sugar
1 egg
½ teaspoon vanilla
1 ¼ cup flour
½ teaspoon baking soda
½ teaspoon salt
8 (or 13) broken pieces Oreo Cookies
1 cup chocolate chips


1. Preheat oven to 350 degrees F. Cream butter, and sugars until well combined. Add egg and vanilla until mixed well.
2. Place flour, baking soda and salt into a large bowl, stir to combine. Slowly add dry ingredients to wet ingredients then stir in oreos and chocolate chips until just combined.
3. With a medium cookie scoop, scoop onto a parchment or silpat lined baking sheet. Bake for 7-9 minutes or until cooked, but still soft. Let cool on baking sheet for 3 minutes before transferring to cooling rack.

Recipe from: Picky Palate

Thursday, December 29, 2011

The World Famous Monkey Bread!

This is the best recipe to make with kids, brothers, boyfriends, college roommates etc.

Use Phillsbury Grands Buttermilk Biscuits.  DON'T SKIMP.
Cats are also a necessary ingredient.
 Mix cinnamon and sugar in a gallon sized ziploc bag.
Cut up the biscuits into quarters.
Drop the quartered biscuits into the bag and shake until coated.  Place into a well greased bundt pan.
 Melt a stick of butter.  Don't whine about fat. Use less if you want, but I'm telling you right now, it won't taste as good. Or be as ooey gooey.  Fat is flavor, every chef knows that.
(To cheat/ make with kids, microwave the butter until melted)
 Add the brown sugar and mix thoroughly. Add more brown sugar if it looks like it's still separated.
 Pour evenly over the cinnamon sugar coated biscuits.
 Pop in the oven.
 Let cool for a few minutes then invert onto a plate. Ignore my shabby workmanship. I didn't use enough PAM on my pan and pulled a piece off before I remembered that I had to take a picture still (I put it back to take the picture).


2 rolls of Pillsbury buttermilk biscuits
1/2-3/4 cup white sugar
2 tsp cinnamon
3/4-1 stick butter
3/4 cup brown sugar

Preheat oven to 375.
Cut biscuits into quarters.
Mix white sugar and cinnamon into a gallon sized ziploc bag.
Place cut biscuits in the bag with the cinnamon sugar mixture. 
Shake until the biscuits are fully covered.
Place biscuit chunks in a well greased bundt pan. 
Melt the butter in a small saucepan.
Add brown sugar gradually while stirring until well mixed.
Remove from stovetop.
Pour evenly over the biscuit chunks.
Bake for about 20-25 minutes.